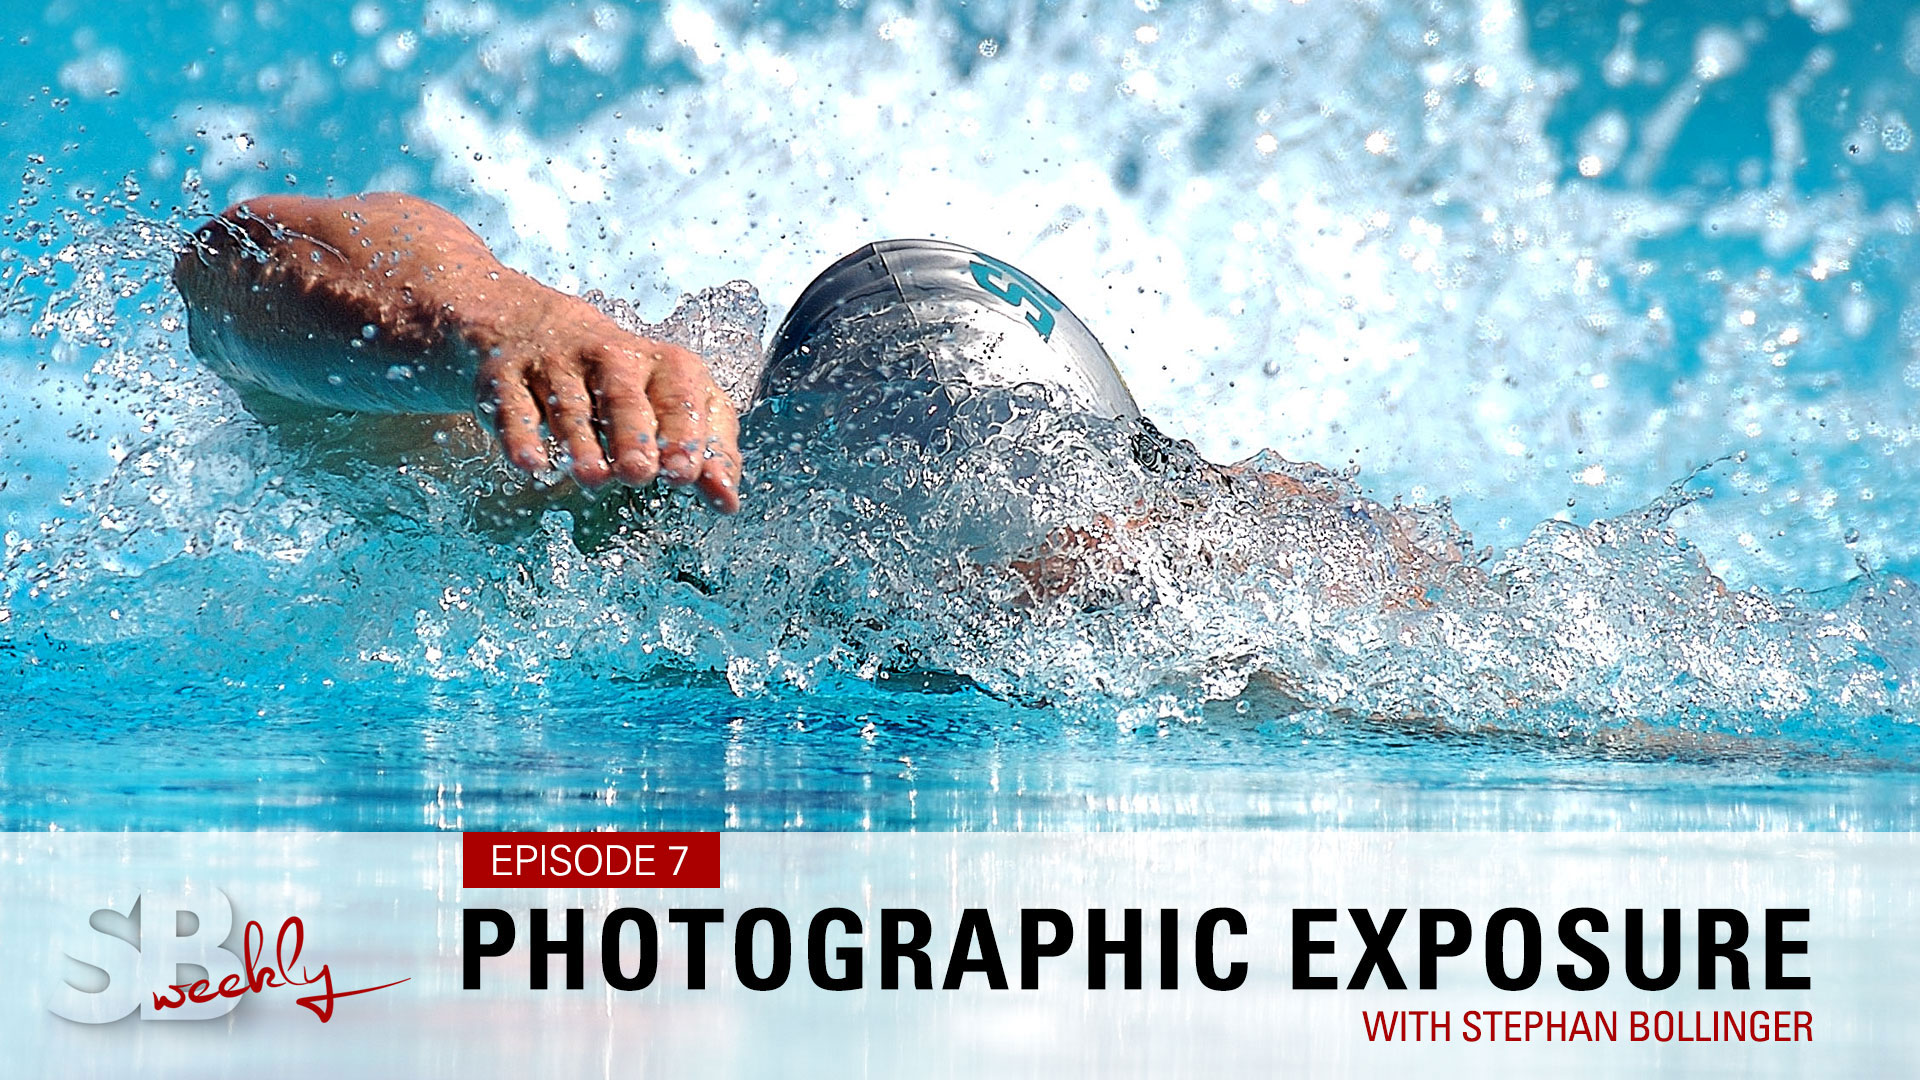
Episode 7 - Photographic Exposure. ISO. Aperture. Shutter Speed explained
SBweekly.tv - Episode 7
Photographic exposure explained in simple terms
Covering ISO, noise, shutter speed, aperture and depth of field.
I'm walking through the Botanical Gardens here on the Gold Coast, and I'm watching these parents take photos of their kid. The kid's quite annoyed but posing anyway, the dad has this murder DSLR in his hands looking really impressive and the mom's snapping away on her iPhone.
As I was just about to pass, I see the dad look at the display and go, "Why is the sky white... the sky is not white, I can see it with my eyes, the sky is blue, why is it white?" ... and the mom is just continuing snapping away and everything looks great on her phone.
So I thought it might be helpful for some of you to go back to the basics and back to the drawing board.
Intro
Hello my friends, wherever you are, I hope you're doing well, I'm Stephan, and today, we are going back to the drawing board, covering one of the most important parts in photography, which is, aside from the creativity, the technical execution or "Exposure".
So when we talk about exposure, there's really not that much to it but I'll try to explain the absolute basics today and, hopefully, if you are then in a situation where you are, you know, in a difficult lighting situation, you then know what to change to get that "white sky into blue", or whatever it may be.
We're in a very lucky situation, nowadays, you can just look at the display, you can adjust your settings until you like what you see. This was a very different story in the olden days, in the "dark ages", you know: film, when we actually still had to know what we were doing. So when you go back, and I'm talking about before 1983, you really had to know exactly what to dial into the camera otherwise it was like playing lotto, it may or may not turn out.
Why '83? In 1983 Nikon introduced the FA camera, which was the first camera that actually had, kind of a "matrix metering", built-in. When we look at how light is measured, here's a light source, here is our subject, light is reflecting off that subject and ending up in the camera. So the camera can now measure what light is reflected off the subject. This is very different than if we would use a light meter, which is not measuring the light that is reflected of a subject, but is actually measuring the light that is hitting the subject.
As amazing as it is that a camera can actually measure reflective lights, there is also a problem with it. Let's assume you take photos of a surfer (against the sun). The camera has to make a decision. Is the camera showing all the little nuances in the shadows or is the camera exposing for the sunlight? Which then means that the surfer itself will turn into a silhouette.
So what is the camera actually doing? We're talking about middle grey or 18% grey, that's what the camera tries to achieve. So what happens if you take photos on a white snowfield? A camera looks at it and decides it's way too bright because it wants to go to that 18% grey or that middle grey, so it will automatically dial-down the exposure, even though we do want the snow to be white. The same applies in the opposite direction, if you go and shoot photos at an event, let's say a concert while everything is dark and there's just one spotlight on stage, the camera looks at it and decides, well it's way too dark and wants to brighten it up. The reality, however, it's meant to be this dark.
So we have to know what to do with the bells and whistles on our cameras, that, if we are in the situation that the camera is not getting the right exposure, that we can adjust it to get what we want. At the end of the day, of course, it's a creative choice, but let's leave the artistic part out and just look at the technical today.
So we have to start explaining and looking at the exposure triangle. Before we do that, let's have a look at how a camera actually works. The light is travelling through the lens, through the iris, reflected off a mirror up through the prism and into our viewfinder. The moment we push the button, that mirror flips up, the shutter opens and our sensor is exposed. Of course, if you have a mirrorless camera, well, there is no mirror, but the principle is the same. Looking at the schematic, there's really three things that we can influence, number one, the size of the opening, the aperture, the size of the iris that allows light in, then we can adjust the time that the shutter is open and we can adjust the sensitivity of the sensor.
Just like picking a film, picking the ISO, comes with advantages and disadvantages. Of course, the advantage is that we can control how sensitive it is, how little or how much light it actually needs. The downside, however, is that we introduce noise if we push the ISO up too high. Let's say, we have a pretty well-exposed sensor, well, there is hardly any noise. If, however, the exposure or the amount of light hitting the sensor is relatively low, this low signal that hits the sensor is amplified, as we push the signal up, at the same time we also pushing up the noise, which then shows up in our pictures.
Let's jump into our exposure triangle. We already talked about ISO, the speed of the film, or the sensitivity of our sensor. So let's say we have this ideal exposure, by pure chance, we switch on the camera, whatever it was, and the exposure is great. But let's change one element, let's say we increase our ISO. To get the perfect exposure, the string around our three elements always has to be neat and tight. Well, it's obviously not, right now, so something has to give, something has to be adjusted. Let's say, we adjust the aperture, well it looks like it's a little bit better but our string is still not tight, so even in this scenario we would have to change the aperture further or adjust the third element, which is the shutter speed.
Which brings me to our second compadre in our awesome three, which is shutter speed. Shutter speed determines the time that the shutter opens, lets light onto the sensor, and then shuts again. This comes, again, with advantages and disadvantages. So let's say, you want to take photos of your kids jumping on a trampoline. Or if you don't have kids, well maybe the extremely well-built dude running on the beach. Well, if there's fast action, you also need a fast shutter speed to freeze the moment. Well, to do so with sport or any action, you probably want to be around 1/1000 of a second or even faster. So shutter speed is both a technical thing, to freeze action or not, or it's also a creative element to create those beautiful motions.
One good example is motorsport. If you take photos at a very fast shutter speed, then it looks like the car is not even moving. You want to have a slow shutter speed so that you see those tires spinning, at the same time, you still want the advertising, the helmet and everything to be tack sharp. So this is then done in a slightly more difficult technique, called panning, so, which is something you have to practice where the car speeds passed, and you, with the longer shutter speed, move along with the camera, you pan along so to make sure that the helmet and the advertising is tack sharp, but at the same time, you get this motion-blurred background and the tires spinning.
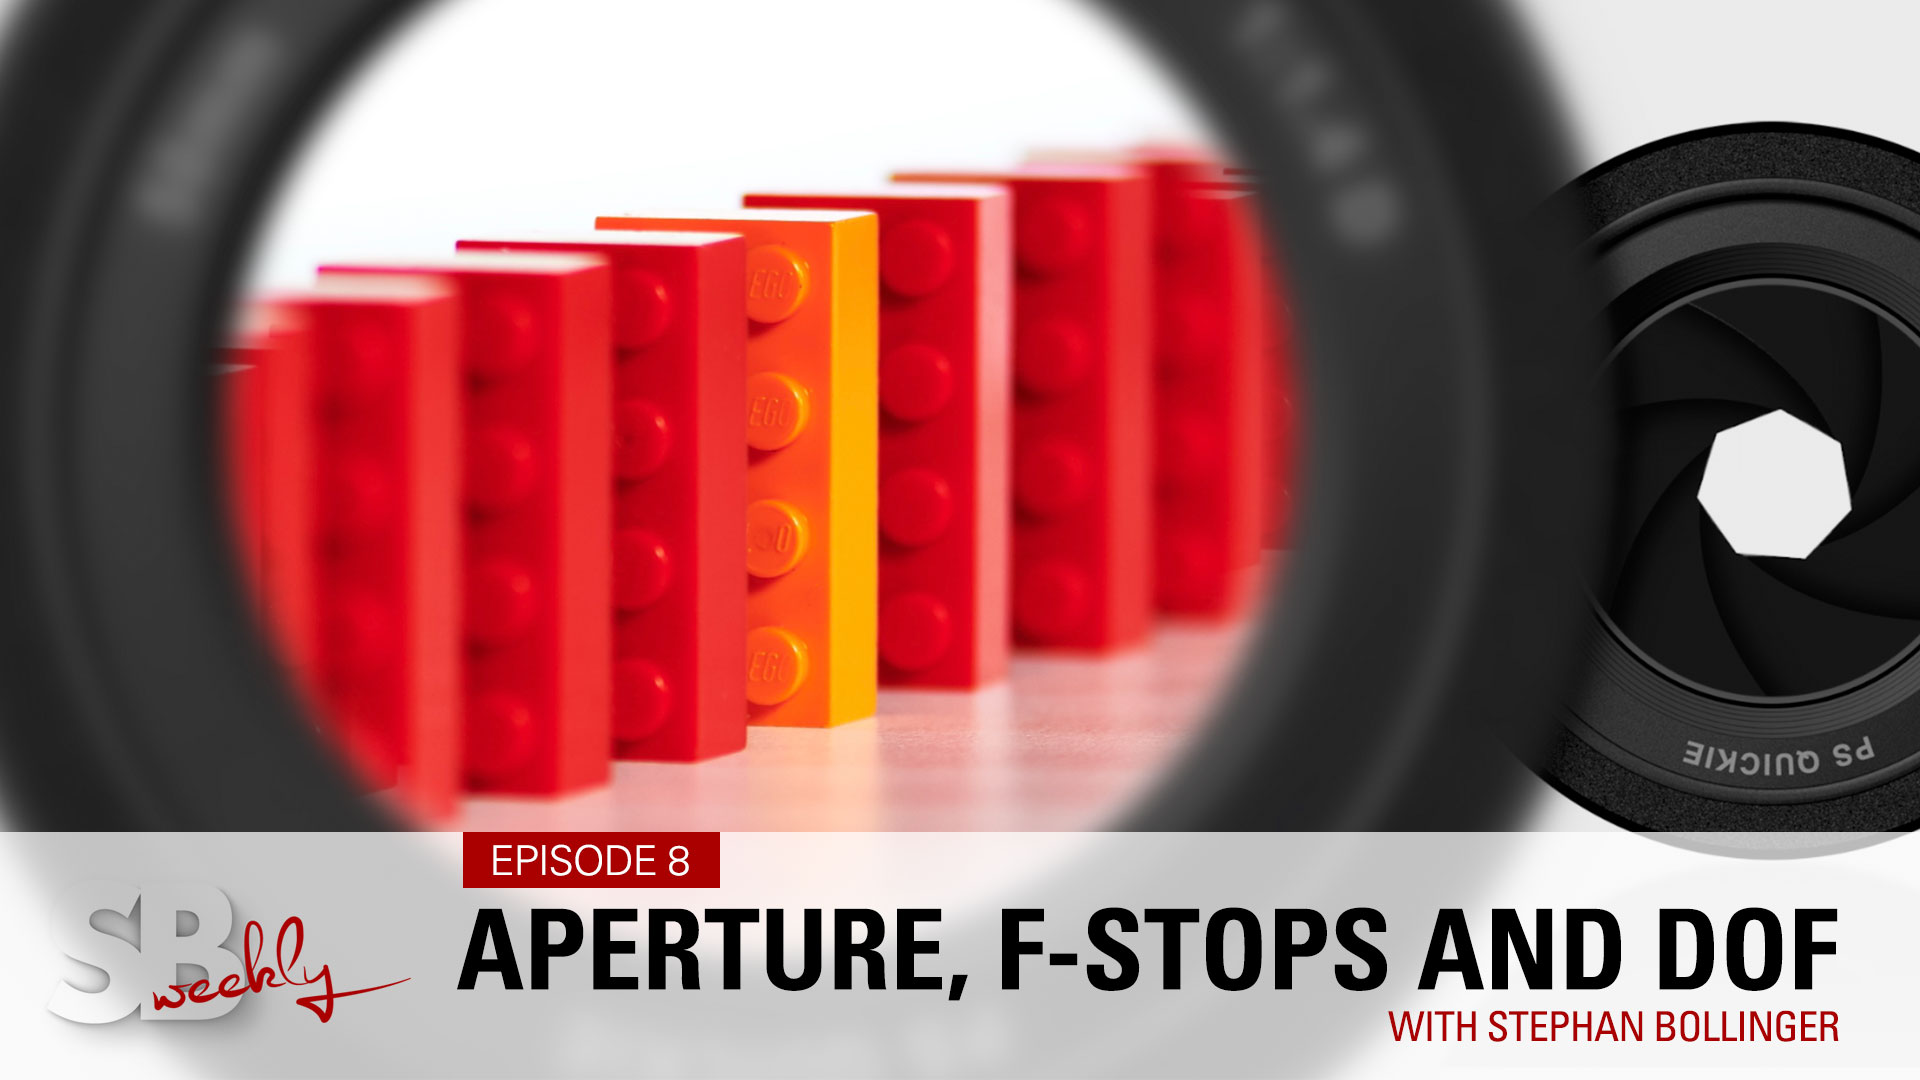
And then we come to the third or our musketeers, which is aperture, the creative, or the most creative part of our exposure triangle. Aperture, as I said before, determines the size of the iris, the opening of the iris, at the same time, it also determines the depth of field that we get. When I talk about depth of field, I'm talking about the amount of focus that we have from the foreground to the background. So if you ave a very high f/ number, you will get the foreground in-focus, the middle ground in focus and the background in focus. If you have, however, a very low f/ number, you will get those beautiful, creamy, Boceh backgrounds and that little flower, tack sharp in the foreground, so it's a very creative tool.
Which brings us to the dials. Well, of course, you can shoot in "automatic" but that means that the camera does whatever the camera wants to do. Remember the snowfield? Well, it will be grey. So we have three more settings that we can pick from:
M, for manual, where you set all those three elements, ISO, aperture and shutter speed.
Aperture priority, where you set the aperture and the camera will now try to determine the shutter speed.
If you set it to shutter speed, and the camera will, in reverse, then try to set the aperture.
Or you set it to P, which doesn't stand for professionals but stands for "program mode", in which the camera tries to setup both aperture and shutter speed.
Well, I hope that explained a few things, I was bubbling along with this, but I hope you grasp the concept. All you have to remember is that string, that string has to be tight, so if something gives, well, the other has to adjust, it's that simple. Keep the ISO as low as possible, play around with shutter speeds, getting that motion, or eliminating that motion, creating that freezing effect, and then use aperture for your artistic expression.
All right, well, next week, I'll dive in and completely geek out on aperture, how about that? Yeah, let's do that, and until then, I hope you have a great time, look after yourself and I see you next week. And I see you next week.
All photos © by Stephan Bollinger.
Additional video & film footage courtesy of pexels.com, created by Peter Fowler, Alexy Almond, cottonbro, Taryn Elliott, Ella Pix and Eberhard Grossgasteiger.

SBweekly.tv is all about sharing ideas, experiences, knowledge, creativity and inspiration. Mostly geared towards beginning and enthusiast photographers, we cover a wide range of topics, from photography and retouching to video & sound production, sprinkled in with a few travel stories and conversations with fellow creatives.
All is paid for. But you can still help…
Every like, follow, and comment on YouTube helps! We'd greatly appreciate if you'd take the time to jump over, and click a few buttons. Even better if you'd share our videos with others - or - the entire playlist, why not! Here is the magic link…
PS: We take copyrights seriously. All the music we use is licensed from www.artlist.io
FOLLOW & SAY HELLO…
YOUTUBE CHANNEL || PORTFOLIO || INSTAGRAM
© COPYRIGHT BY STEPHAN BOLLINGER. ALL RIGHTS RESERVED
